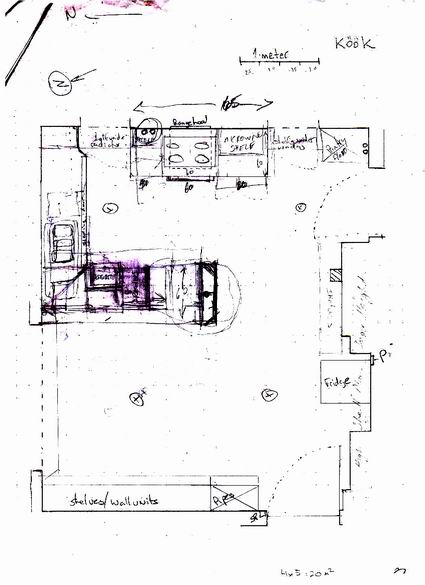
2004/12/15
We started but stripping the old plaster from the lefthand room. Then we pulled down the common wall and striped the right hand room.
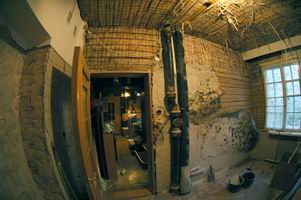
2005/01/03
The day started with the kitchen in a barely useable state. Monday night we moved the fridge, stove and other bits into the living room in preparation. Next we removed the remaining tiles, and dismantling the wall.
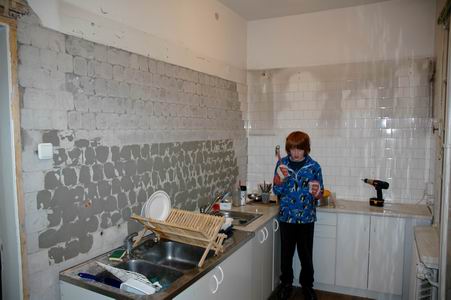 Mr T helping with the removal of the tiles.
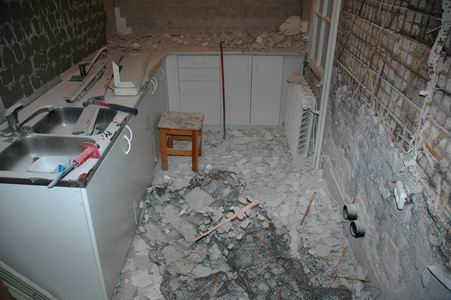 By morning coffee break the walls and ceiling were falling.
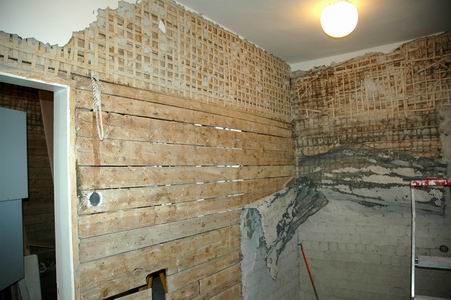 By first break after lunch, we had light through the wall. On the bottom right you can see where we are removing the wire mesh that held up the cement rendering to which the tiles were afixed. (Lots of bent nails! What a pain that was!)
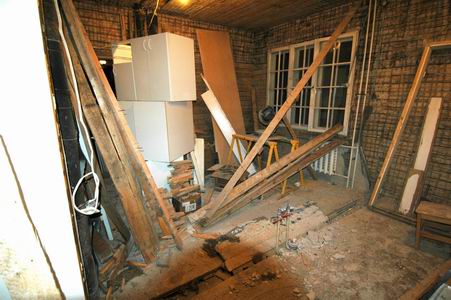 By 7PM the wall was down! Nothing moved. It definitely was not a supporting wall. Now, to remove the remaining plaster support mesh and put up plaster board. I expect to get this done by Wednesday, and the start on the walls. I still have to run a bunch of wires around etc., however that should not take too long.
2005/01/10
Well, we are getting there. Yesterday we had major storms, (Rain, wind and storm surge from the Baltic). Tallinn and other coastal towns were hardest hit. We came through it unscathed, a bunch of branches off the trees, but nothing major. The guy that has been helping with the kitchen was supposed to come today, but I understand through a mutual friend that he may have lost his roof, so he had more important things to worry about.
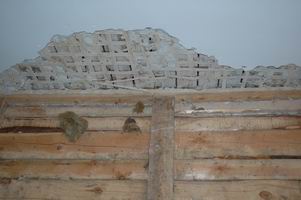
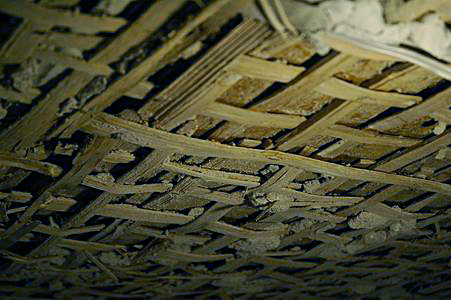 For Steve, more photos of old house “bones”. This is what the ceiling looked like after the plaster came down. The old plaster had essentially turned to dust, held in place by paint. This is the mesh that the plaster is pressed into when applied. Over the years, the wood changes size with changes in temperature and humidity, and breaks the plaster. This ceiling here was put up in the mid 1970’s. So 30 years is not too bad, I guess….
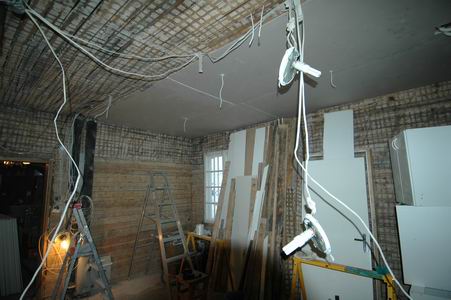 The ceiling plaster board going up. I kept the old lighting going until the wires got in the way, then swapped one of the lamps to the new wires that I had installed.
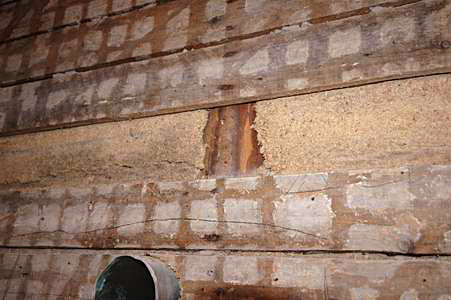 What is inside the walls? The house was built in the mid 1930’s, so the traditional insulation was sawdust. Either the saw dust has turned into blocks, or it is processed into blocks. When you go to the local building supply house (local Home Despot) they sell similar blocks made of styrofoam. (I’m assuming non-flammable stuff
 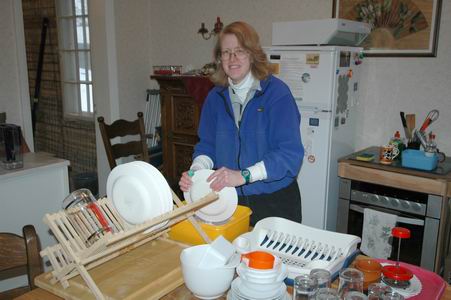 Pene washing-up in the temporary kitchen, actually the “saal”, or formal living and dining room. We moved the fridge, stove and cupboards so that we could continue to eat. Hopefully we will be back in the kitchen by next weekend.
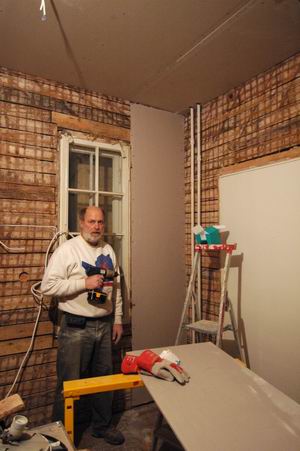 Erik, with the first bit of wallboard on the wall. (Sunday Night)
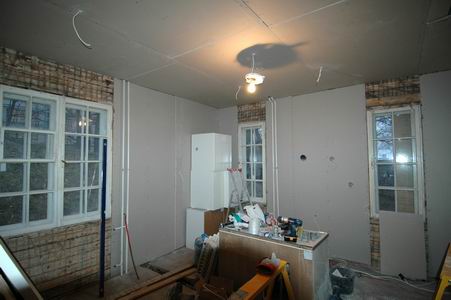 This was Monday’s effort, about 1/3 of the walls have been covered. The pace is picking up as I get the process worked out. The last wall is going to be a pain, because we will have to glue the wall board onto the old brickwork of the central (Inside) wall. The brick work is not worth exposing as it is very rough, in poor condition and not large enough to be interesting.